this mod took about an hour or two, but who's counting, and a total of R250.00. it was R150.00 for the light fixtures and R100.00 for the globes.
How to #1… HEADLIGHTS…
Changing your headlights and headlight globes… this made an enormous difference to the look of the car, both during the day (lazy eyes) and at night. The light is far more powerful and is now a crisp white instead of a boring old yellow colour! I used 90watt h4 xenon blue globes! Thanks to Freddie for sourcing the parts for this modification.
(This write-up is my own experience of the job of changing the headlights and the headlight globes, and I do not take responsibility for anyone following the step-by-step guide and stuffing up their cars!!!)
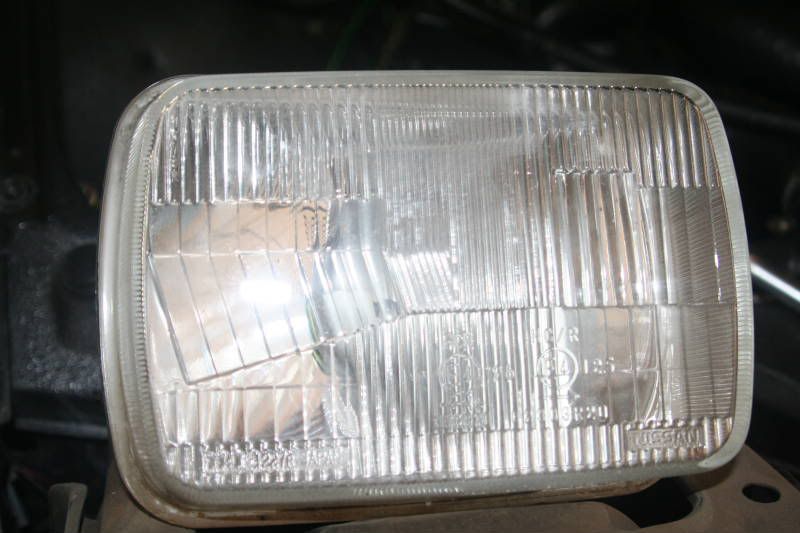
BEFORE:
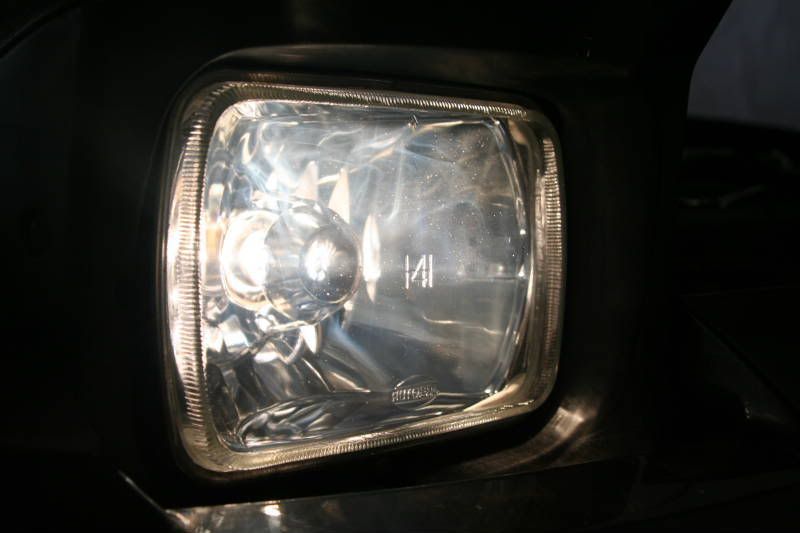
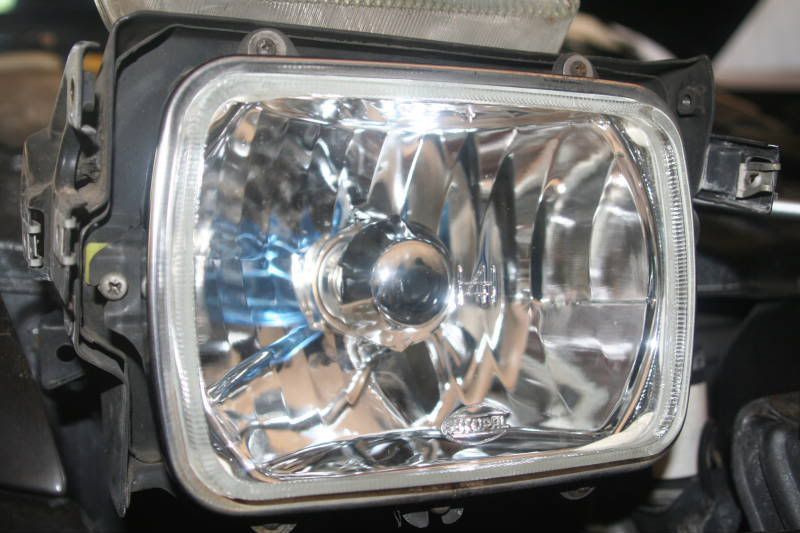
AFTER:
Step one:
My first step was to disconnect the battery. You can lift the lights first before you disconnect the battery, but you can also use the rotary button on top of the light motor to lift up the headlights.
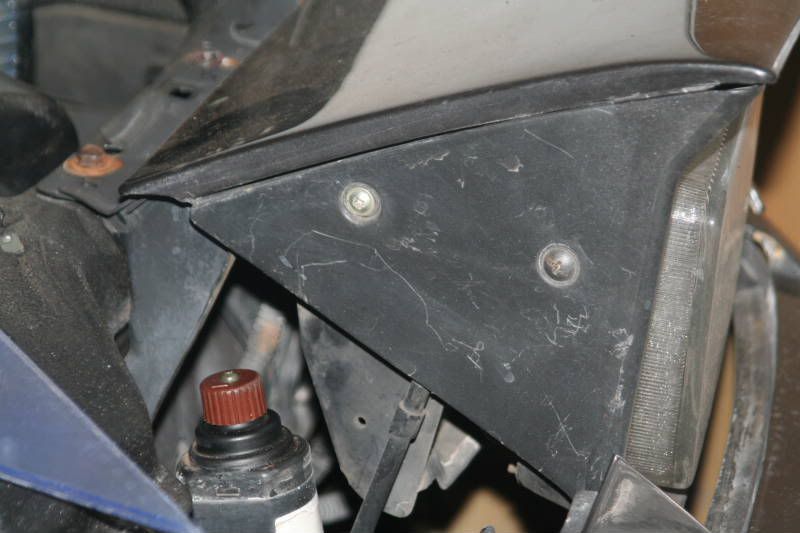
Following this unscrew the four self tapping screws on the side of the plastic light cover. There are two screws on each side of the light.
Step two:
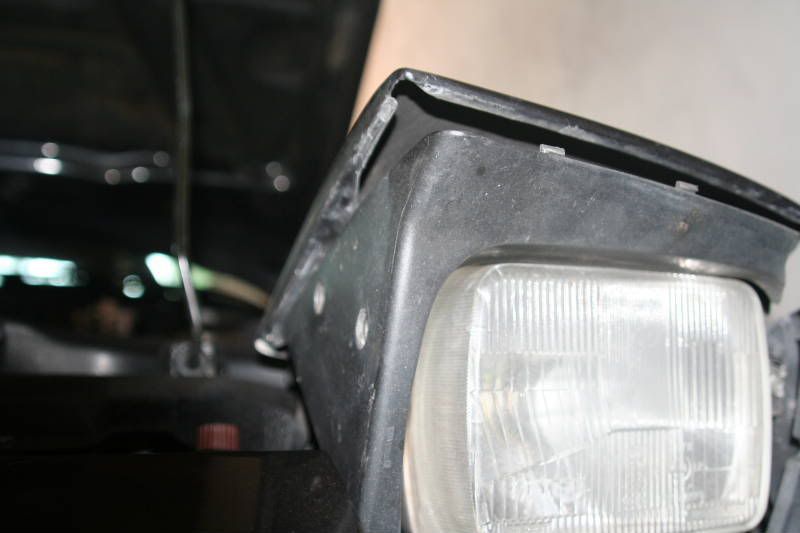
Unclip the plastic cover that surrounds the light fixture. There are clips at the top of the plastic cover only, you should be careful not to break these. (mine were already broken by the previous owner!!!)
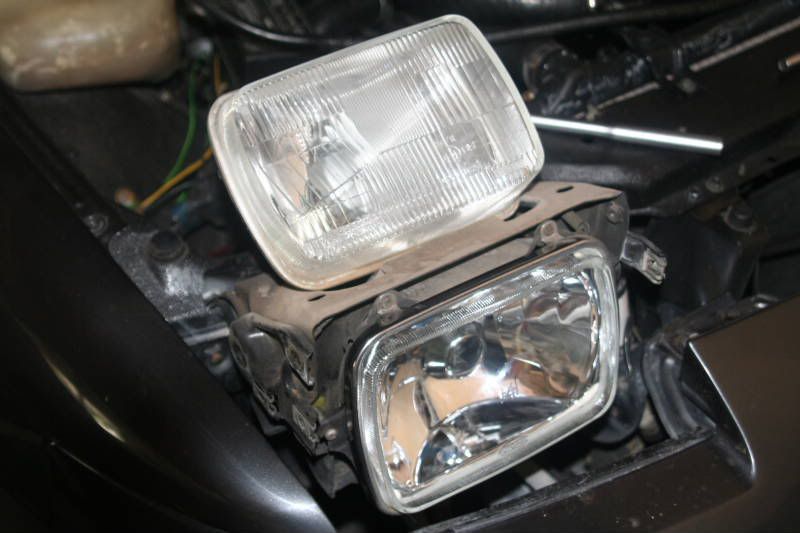
On the picture you can see that the clips attach to the bottom of the top light cover.
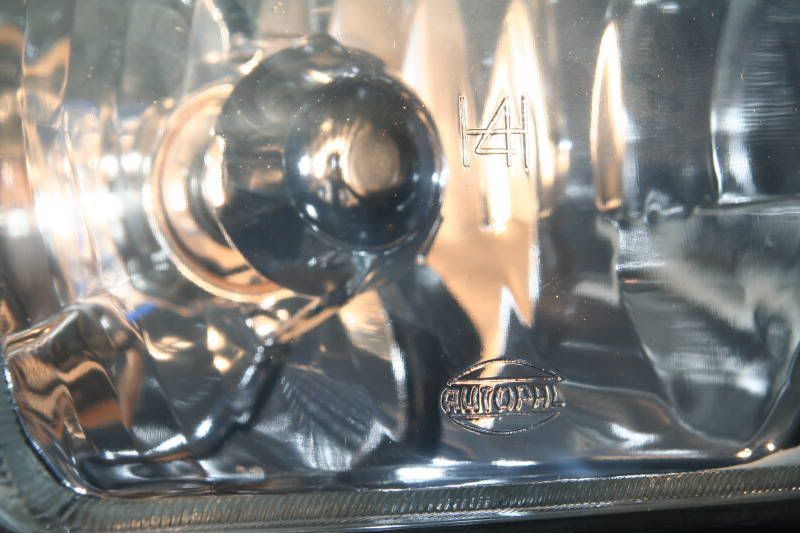
You can also see how dull and hazy the glass of light fixture looks. I reckon it’s disgusting like that – and wait until you see the new lights!!!
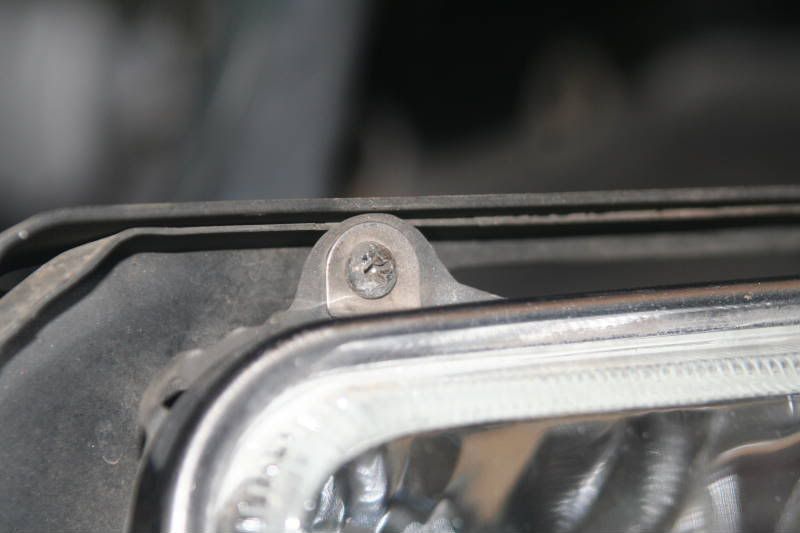
Step three:
You should now be able to see the chromed metal ring that holds the light fixture in place in its spring-loaded frame. In many cases, with 200sx’s being at least 10 years old, the chrome ring is dull and slightly corroded. This is nothing that a little metal cleaner like silvo or brasso cannot fix. I always clean everything before it goes back onto the car – that’s just me. Obviously you don’t have to.
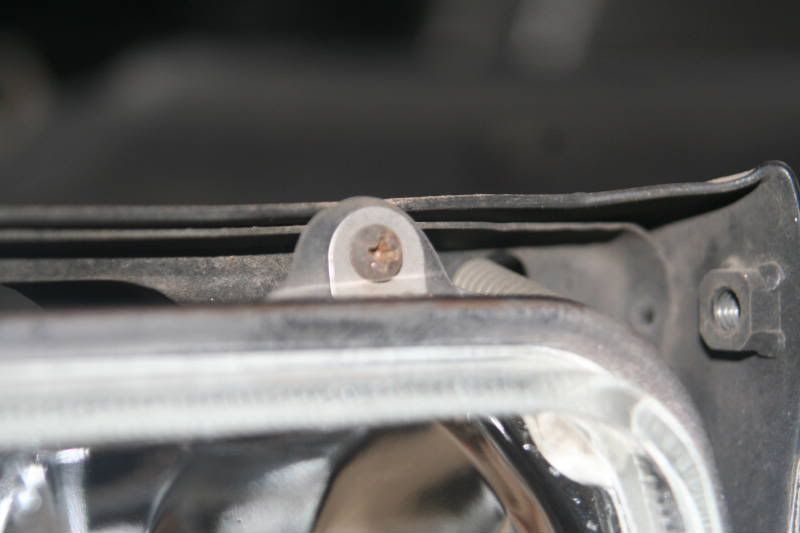
The chrome ring is held in place with four screws near each corner. Be sure to use a magnetized screwdriver to remove these, because if you drop the little screws you will spend a long time fishing them out of the bumper.
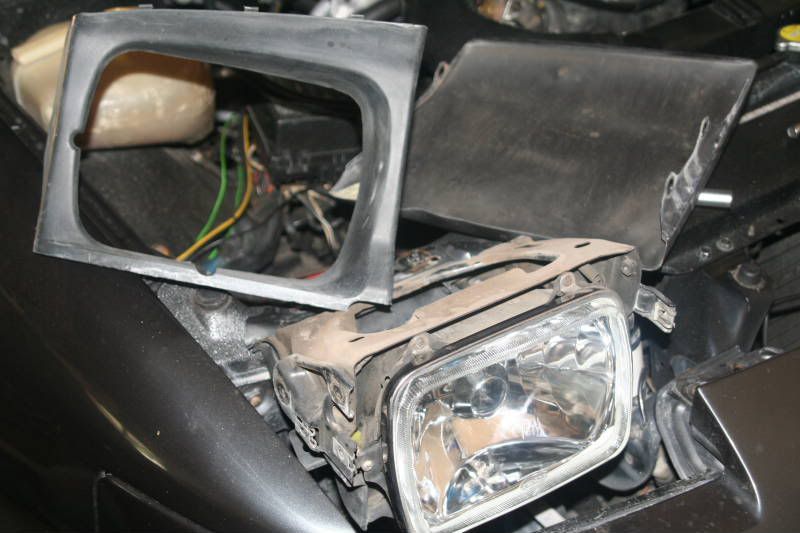
Step four:
The disassembled covers should now look like this:
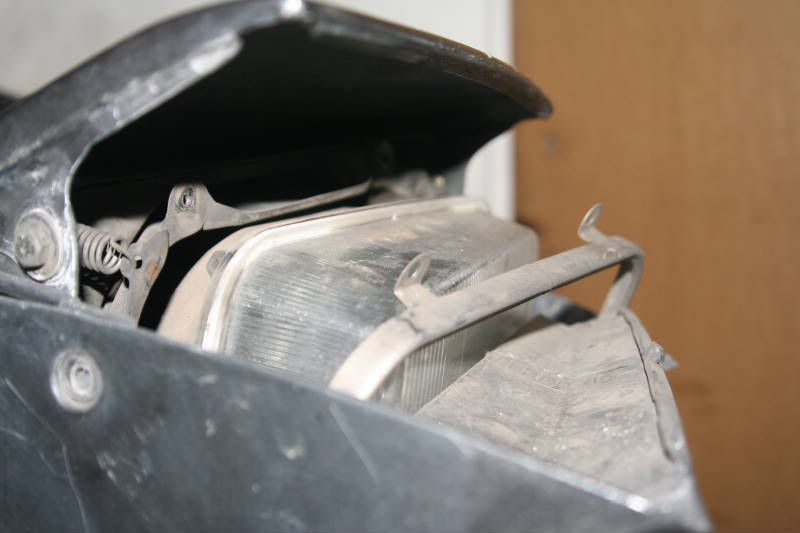
The chrome ring can now be removed from the behind the plastic housing, this may take a fair amount of creative persuasion!!!
The light fixture can also be shifted forward and the globe can be unplugged from the wiring harness.
Once the light is out of the way, the plastic housing can also be removed.
This will give you a chance to clean everything before it all goes back in.
Step five:
I had to put some foam rubber with a single sticky edge into the recess of the chrome ring. This foam rubber was bought at my local hardware store for about R15.00, and cut to size to the chrome ring.
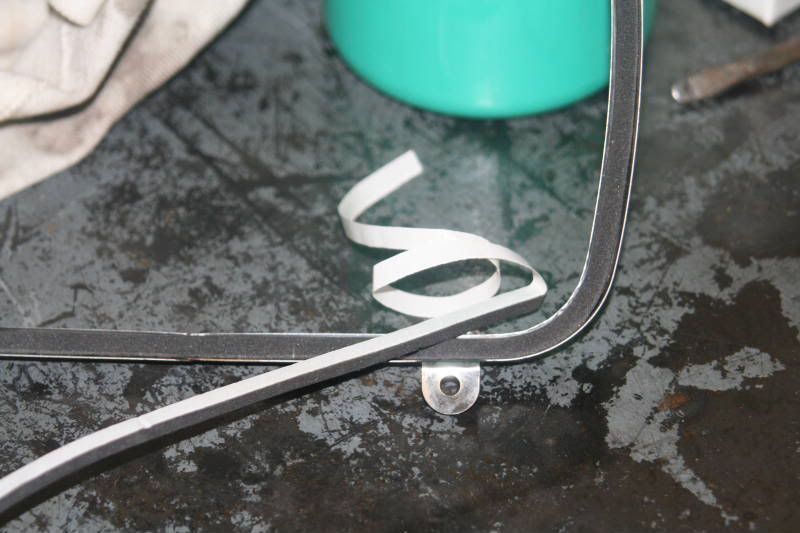
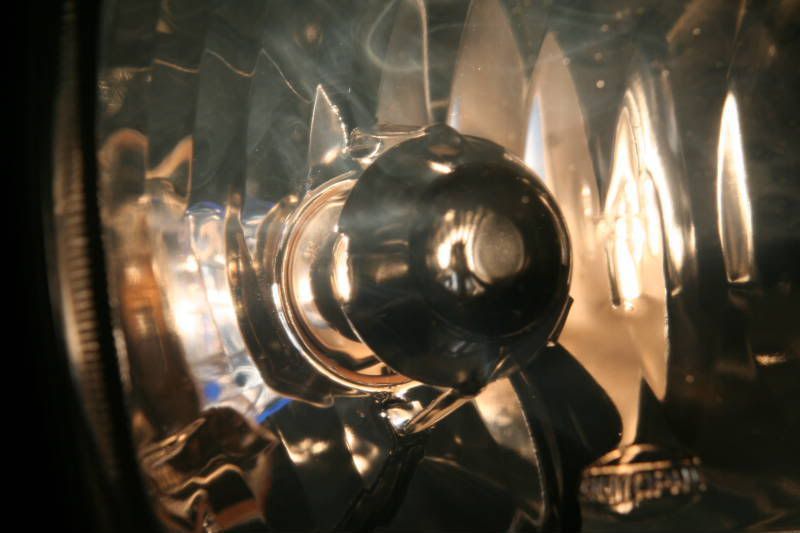
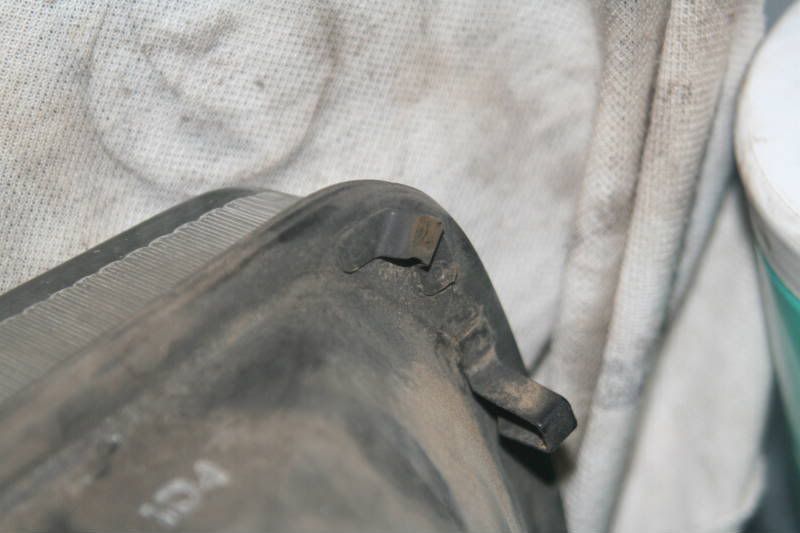
The reason being that the once the light was in place and positioned correctly, it was still loose behind the chrome ring. This is because the new light fixture didn’t feature the little spacer tabs pictured below, and therefore its side profile was shallower than the original light.
Step six:
If you have removed the plastic, put it back before you put the light in place. I found that the plastic also had to be *persuaded* to fit in once the light was in place!
The installation of the light should be the exact reversal of the process of removing the light. Remember to plug the wiring harness in before you do up any screws.
Some hints:
• It is easy at this stage to tweak the adjustable arm that controls the lifting and lowering of the light fixture. This is because the covers are off. If your light needs some tightening up, now’s the time to do it before all those covers go back on.
• Now is also an excellent time to reposition the headlight covers so that the gaps in the bodywork are even. The top cover can be removed by four bolts that lie underneath the plastic cover that was removed – so make those adjustments before the plastic trim goes back on!
• you can also easily reset the height of the light at this stage for the same reason as above.
• Check that the lights will go on before you reassemble everything, but be careful that the lights are prevented from folding down by pressing the "lights up and down" button on your dashboard.
Here are some more pics: