How To: Battery Relocation

How-to's, project cars, and various other articles posted by club members

Moderators: P3g4sus, Daniel, rat, Draco, Riekert

Post Reply
User avatar
Trance101
0.9 Bar Boost
Posts: 964
Joined: Tue Aug 14, 2007 1:54 pm
Car: S13
Engine: RB
Real Name: Ryan
Location: Durban

How To: Battery Relocation

Post by Trance101 »

Hi guys,

I relocated my battery to the boot today and I took pics all the way through. So, I thought I'd write up a "how to" guide for others that may want to do this. The reason behind doing this is some FMIC's piping need to run up through the battery tray in the engine bay and moving the battery is the easiest way to solve this problem.

This turned out to be really easy, but it just takes some time.

First of, the things you will need to relocate the Battery:
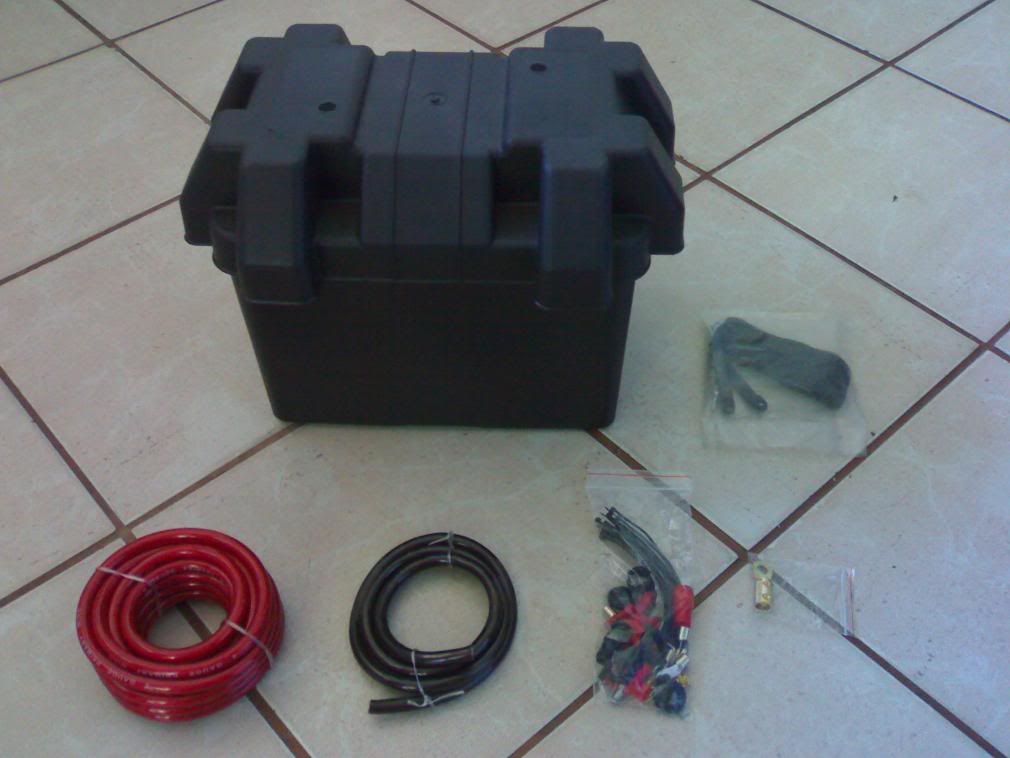
Image

- a battery box
- some 4gauge audio cable
- various cable feet and cable accessories

I got my battery box from a boat shop - Peter's Watersports. Then i just went and bought a 4gauge audio wiring kit. It came with all the bits and pieces that I need for the wiring.

Ok, first off I fed one end of the 4 gauge cable through the firewall into the engine bay on the drivers side:

Image

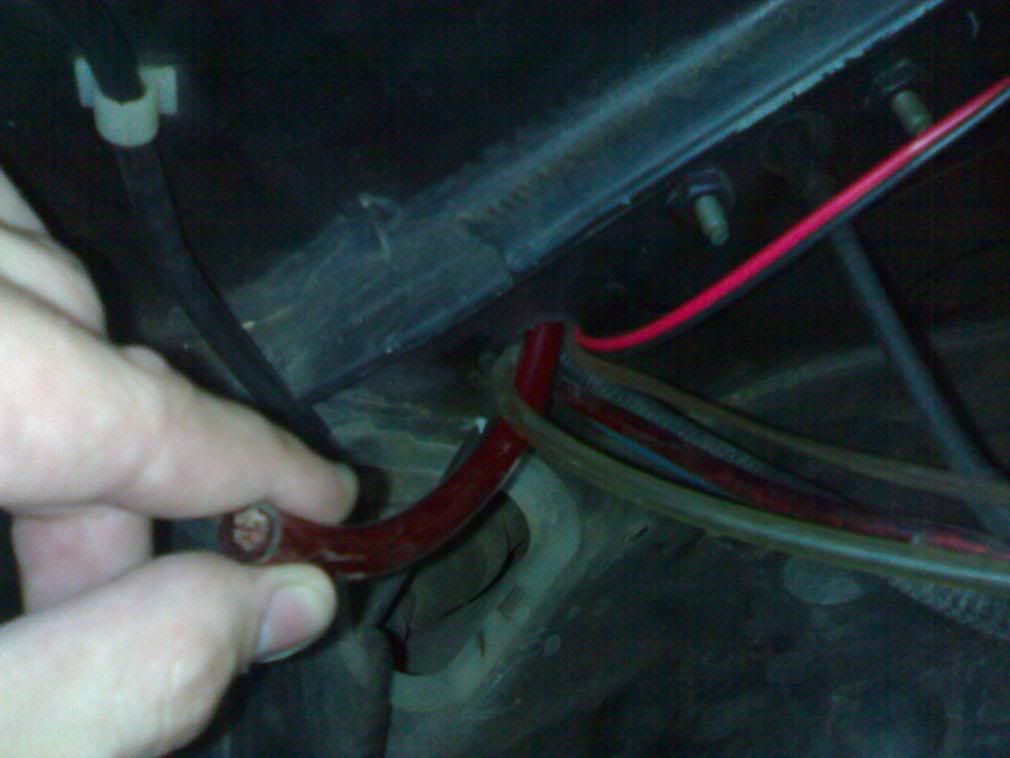
Pull enough cable through so that the end of the cable is by the battery.

Now, take the kick panel on the drivers side out. Its held on by one or two screws on the inside and a stud that can just be pulled out in the door frame.

Image

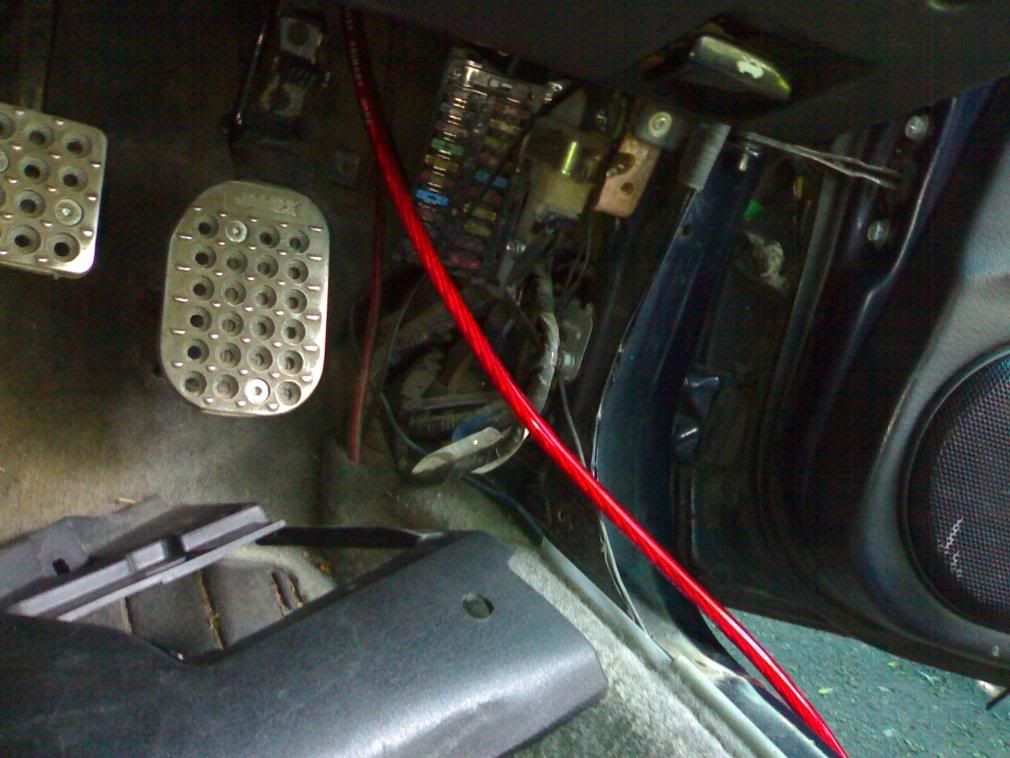
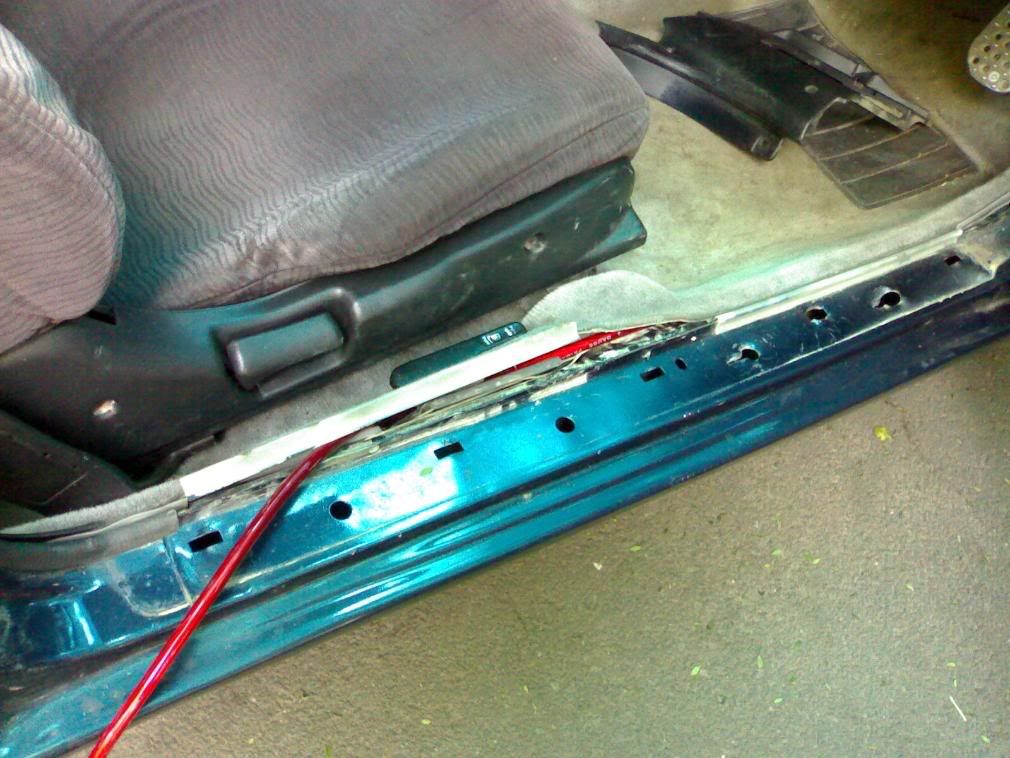
Remove the door sill panel and unclip the carpeting:

Image

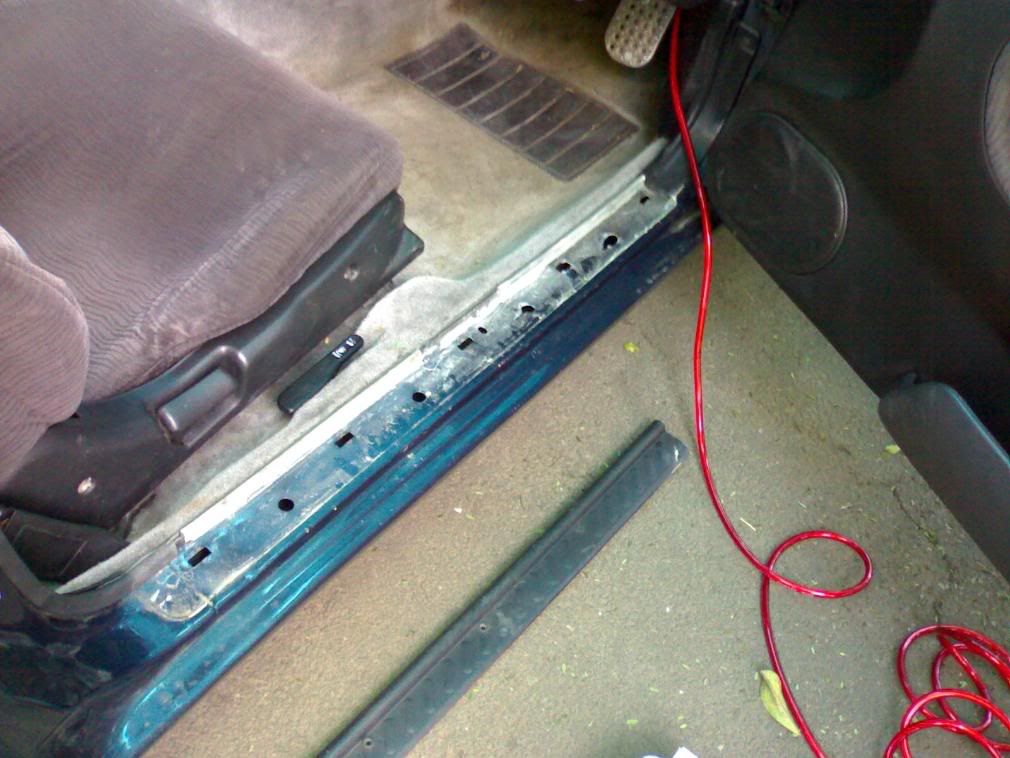
Feed the cable under the carpet and past the drivers seat.

Image

The panel by the rear seats just unclips it you pull on it gently. Be careful, the clips are old and break easily (I broke one or two in the process :( ). Feed the cable behind the panel.

Image

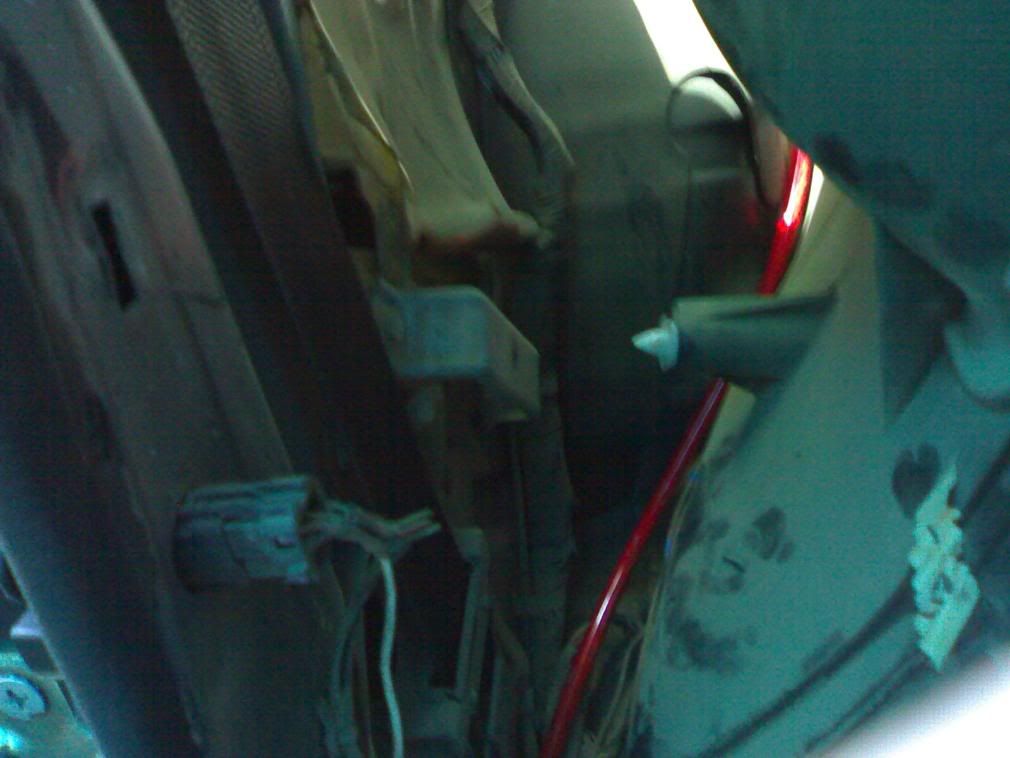
The cable should now be in the boot.

Image

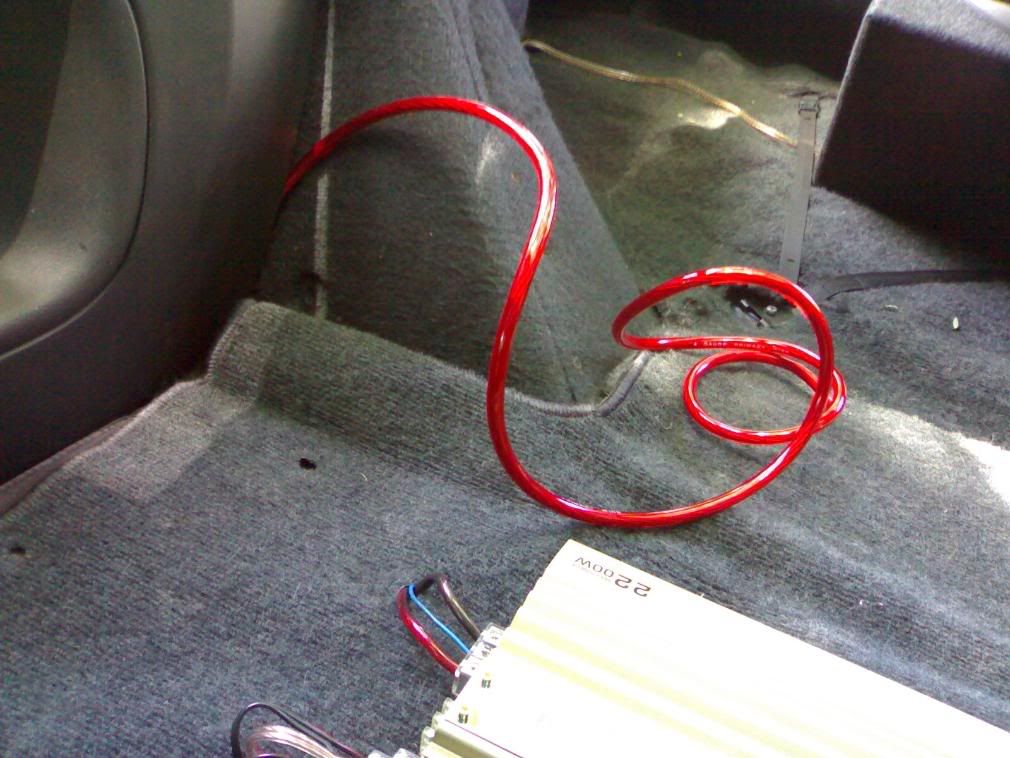
Run it under the carpet to where you want the battery box to sit.

Now, to install the battery box!

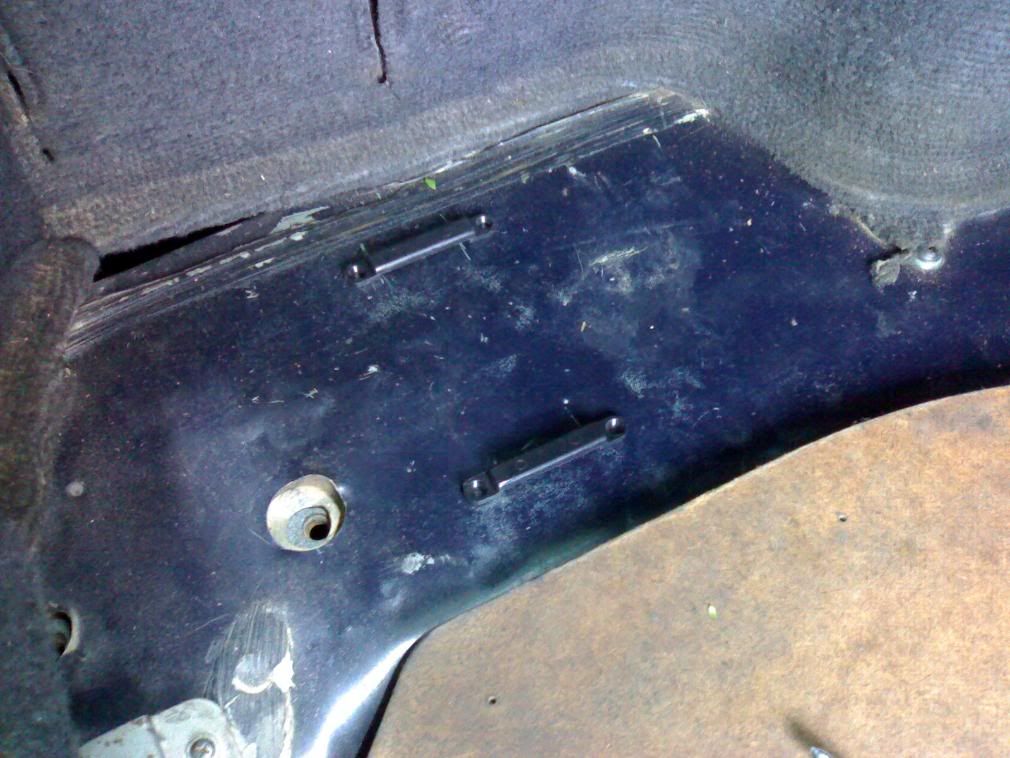
The battery box I got came with a strap to hold it in place and two brackets to secure the box in place. I just drilled holes for these brackets and screwed them down securely. (Be careful where you drill, make sure that you don't hit anything important beneath ;) )

The brackets in place:
Image

A test fit:
Image

Now, for the rest of the cabling.

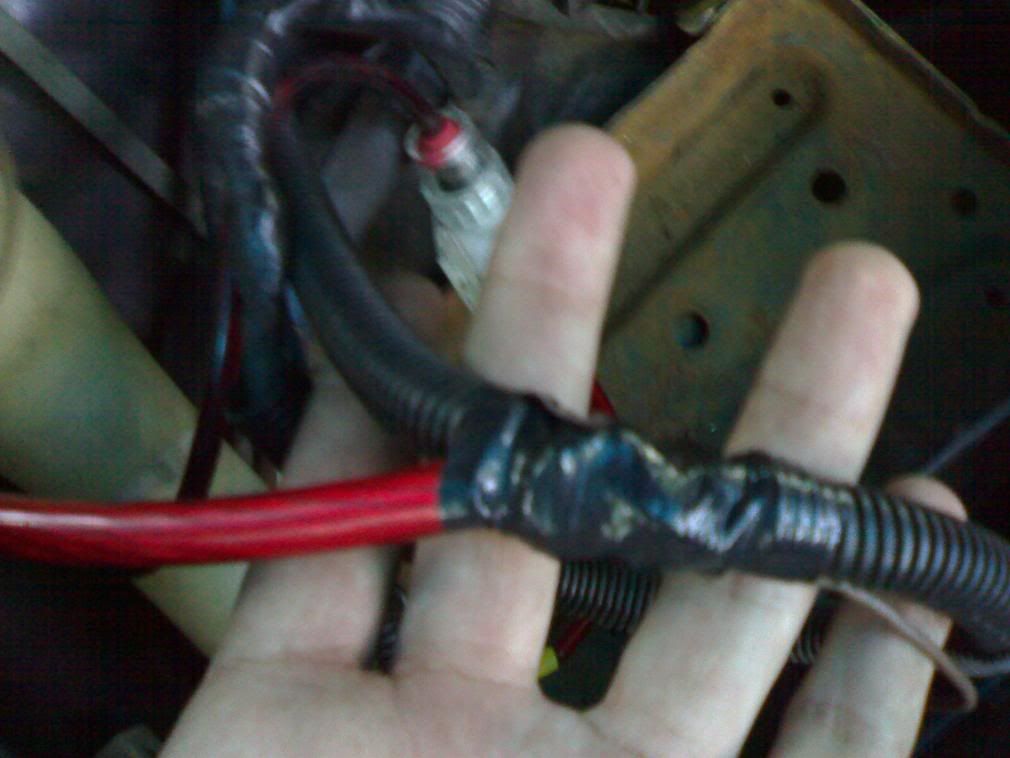
Cut off both the positive and negative terminal clamp thingies from cable in the engine bay.

Connect all of the cables that came off the positive terminal of your battery and attach then to the 4 gauge cable:

Image

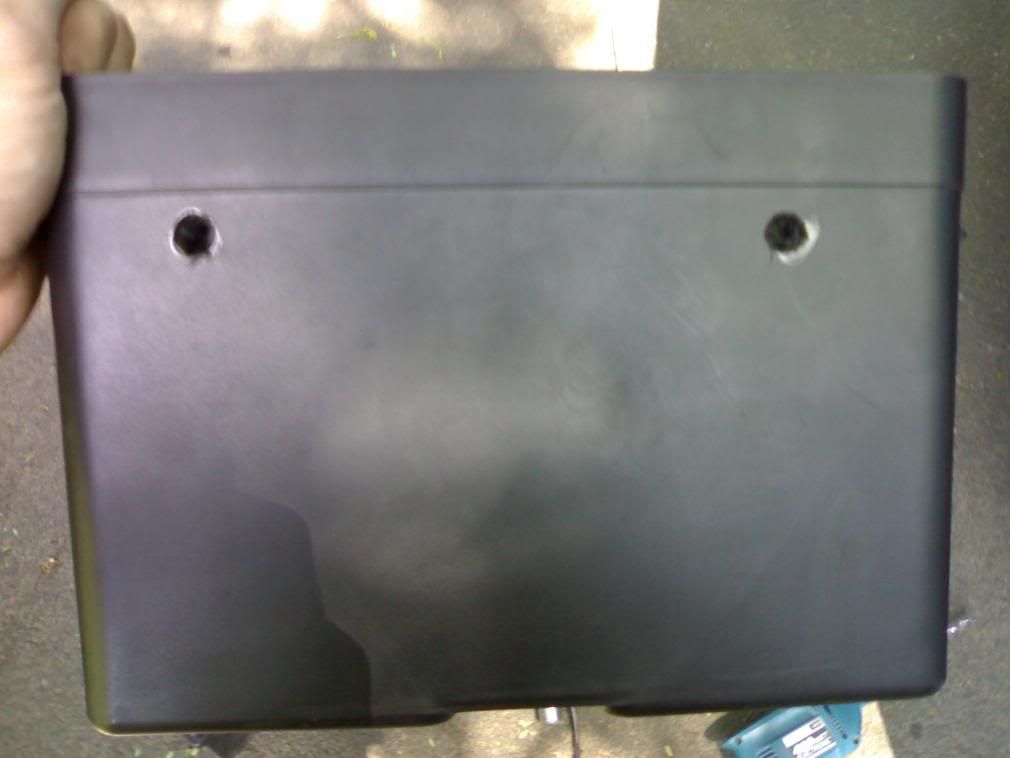
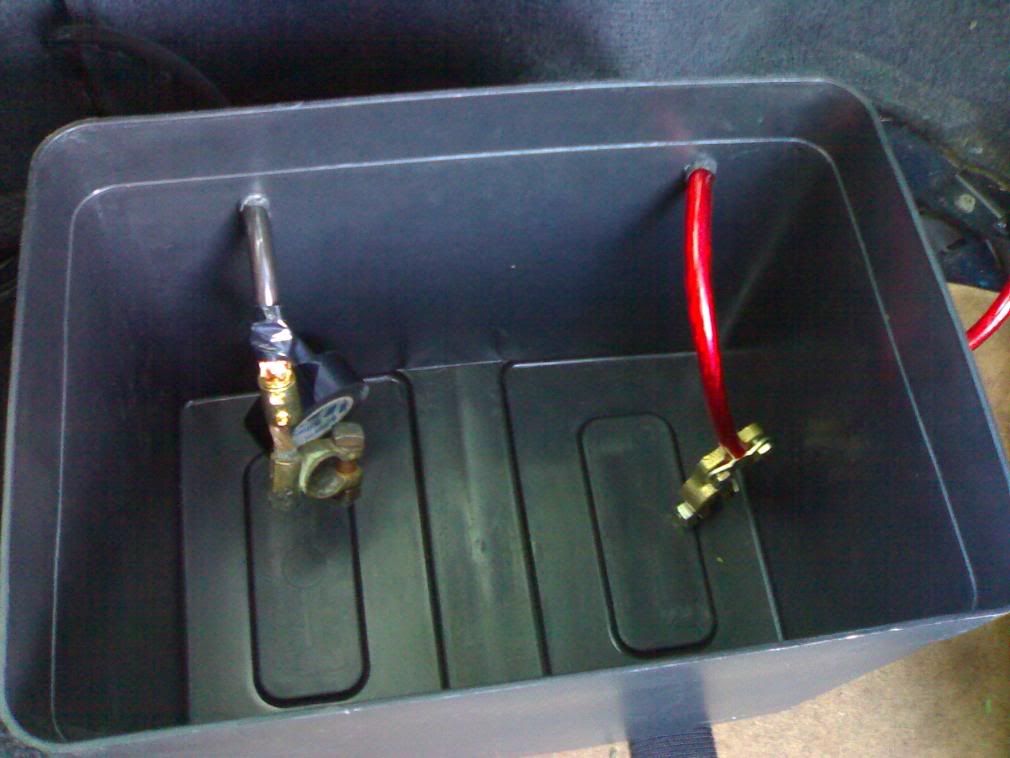
Drill holes in the battery box for the positive cable and the ground:
Image

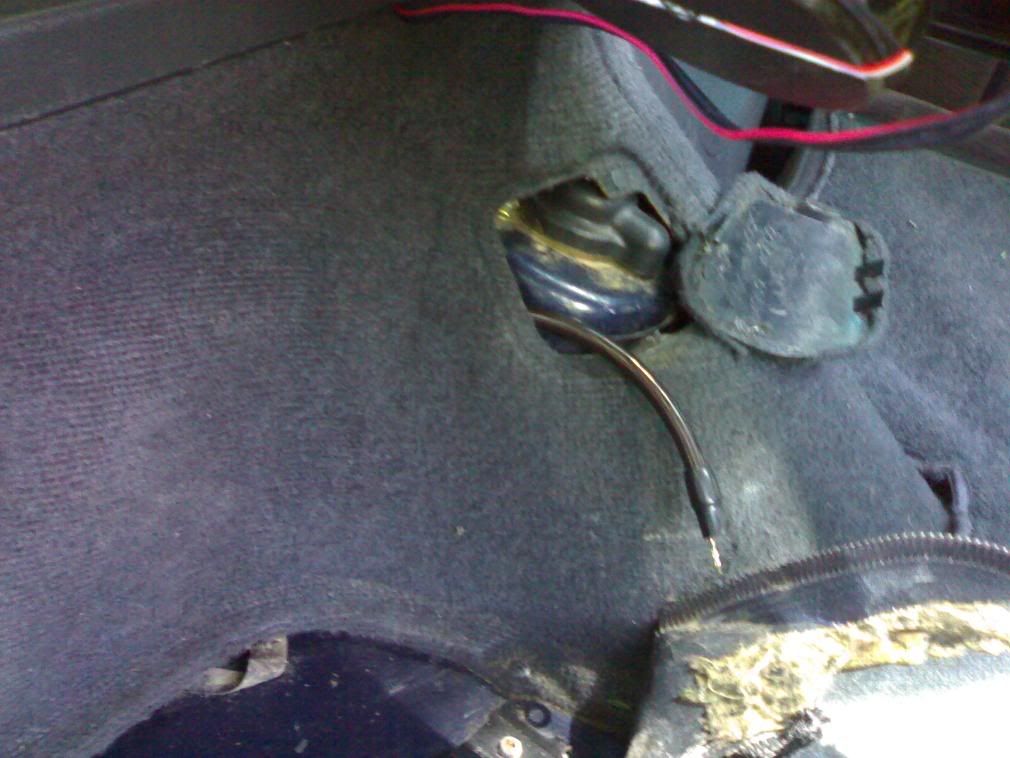
I ran my ground behind the boot side carpeting and to the rear strut tower where there is a place to attach it:

Image

Feed the cable into the battery box and reattach the terminal clamp thingies to the cable:

Image

Put the battery in and attach the clamps:
Image

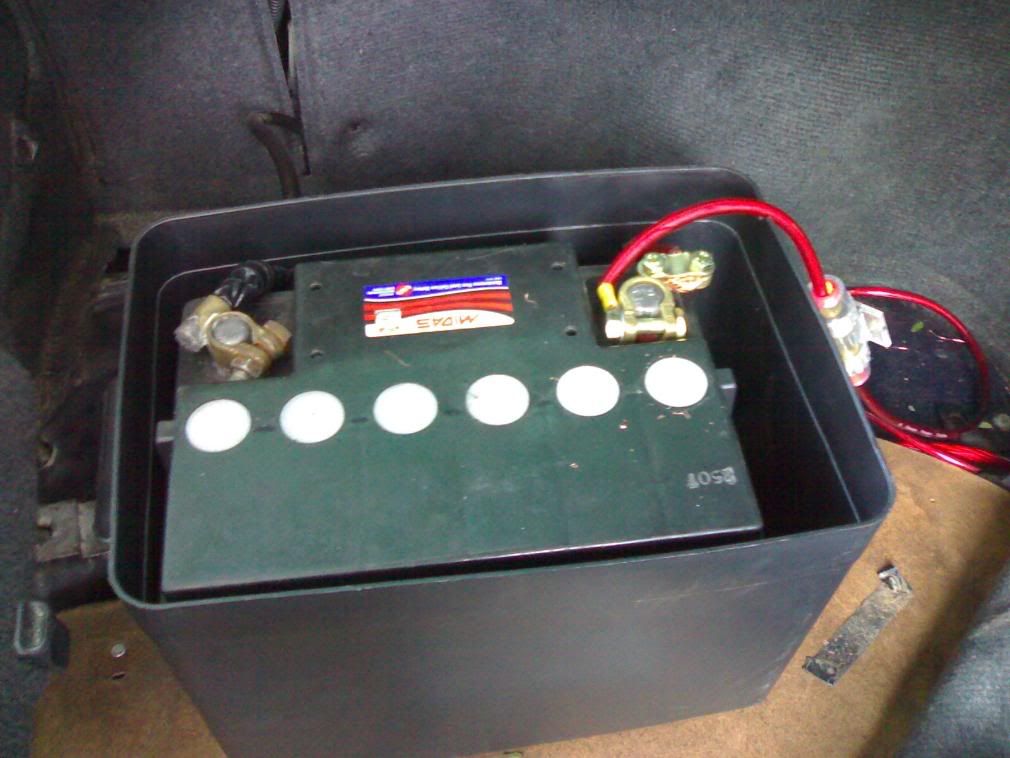
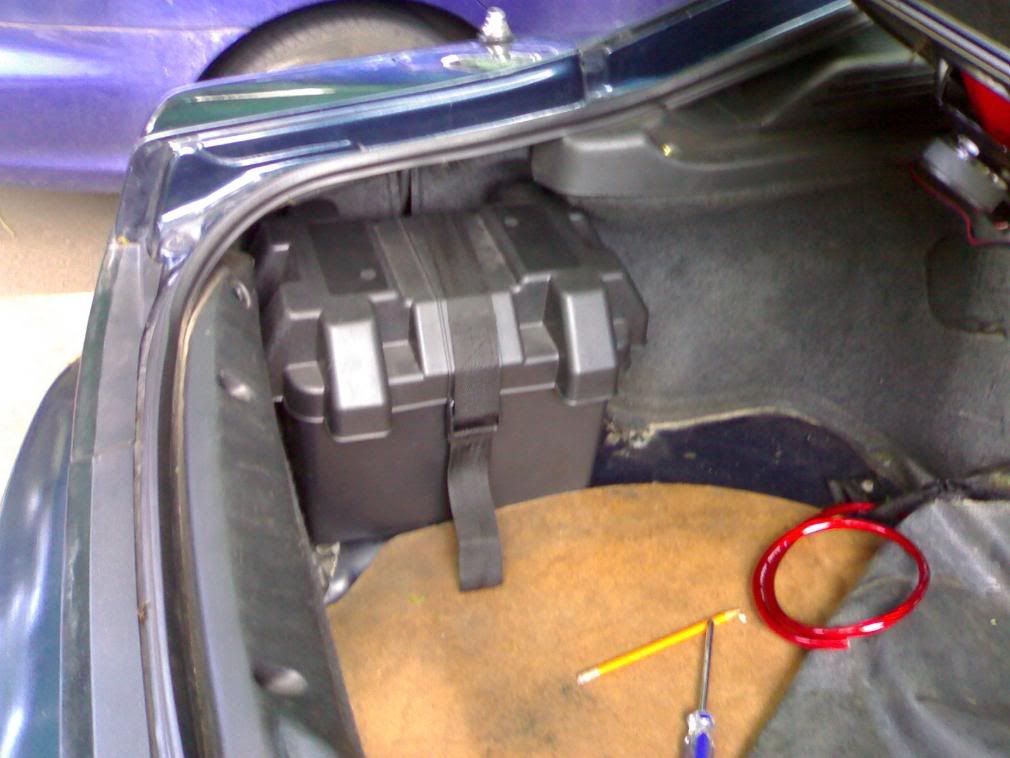
Now, close up the box, run the strap around it. You'll need to cut a slit in the carpet for the strap to come through in front of the battery box.

Now sit back and admire your work :D:
Image

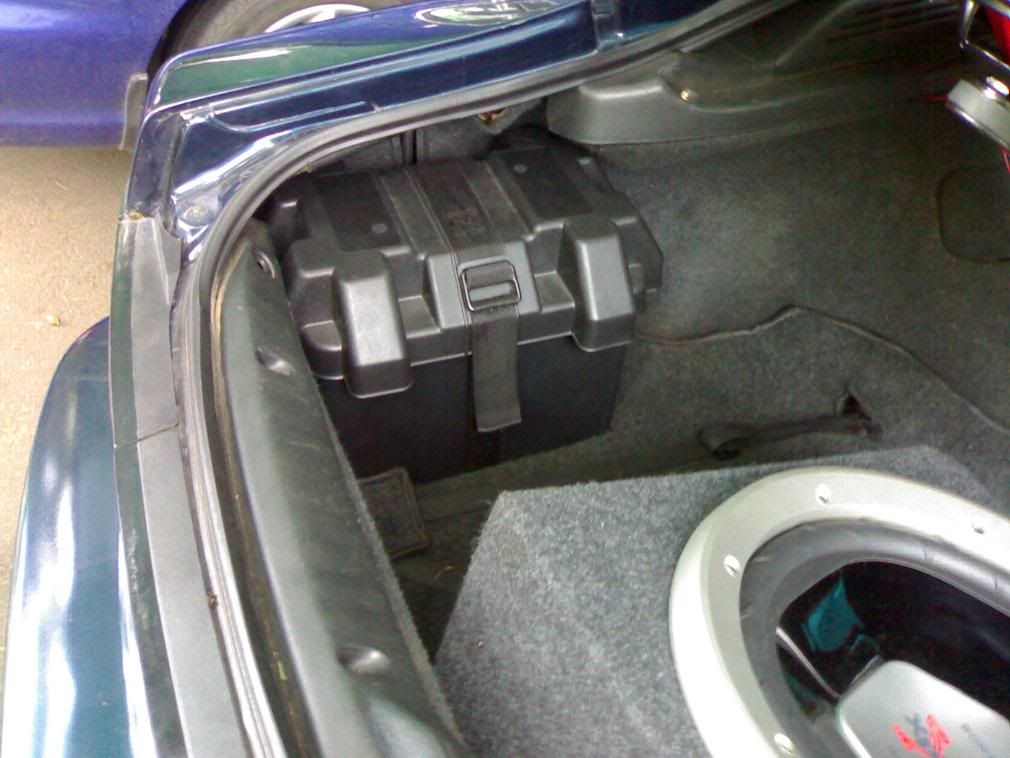
... then clip the panel by the rear seats back in, replace the door sill, replace the kick panel and your DONE!! :P
RB25 S13 - in a perpetual state of broken-ness...

User avatar
Riekert
The Overlord
Posts: 9505
Joined: Tue Jul 31, 2007 11:51 pm
Car: S13
Engine: VQ
Location: Hermanus/Cape Town
Contact:

Post by Riekert »

Nice!

I think I'll have to do that aswell!
Enzio wrote:Who needs ligths? When you're going sideways forward facing lights don't do anything but confuse squirrels and sheep next to the road...


aka The Overlord

User avatar
Trance101
0.9 Bar Boost
Posts: 964
Joined: Tue Aug 14, 2007 1:54 pm
Car: S13
Engine: RB
Real Name: Ryan
Location: Durban

Post by Trance101 »

Ya do it :)

Its real easy and its good to have the extra space in the engine bay.
RB25 S13 - in a perpetual state of broken-ness...

User avatar
Vlade
* - Club Pimp - *
Posts: 2775
Joined: Thu Oct 19, 2006 9:40 am
Car: Other
Real Name: Barend
Location: Auckland, New Zealand

Post by Vlade »

Nicely done Mr! Neat, very neat.

My wires run under the car though, I pulled through both + and - due to the bad Earth at the back of the SX, so I grounded it at the back, and the 4 gauge wire upfront.
Hairdresser MX5

User avatar
ChemCool
SX Forumholic
Posts: 2197
Joined: Tue Aug 01, 2006 11:59 am
Car: S13
Location: Centurion
Contact:

Post by ChemCool »

Very nice. Thanks for the effort into this awesome article.
Chem 8)
COOLER, FASTER, LIGHTER
www.wappage.mobi AGENTS NEEDED URGENTLY!

Image

User avatar
Trance101
0.9 Bar Boost
Posts: 964
Joined: Tue Aug 14, 2007 1:54 pm
Car: S13
Engine: RB
Real Name: Ryan
Location: Durban

Post by Trance101 »

Thanks guys, glad you liked it :)
RB25 S13 - in a perpetual state of broken-ness...

veecee
AGENT SX!
Posts: 7353
Joined: Wed Nov 08, 2006 3:49 pm

Post by veecee »

yeah dude.

nice article. i've been wanting to do this for ages, but i've always put it off because i thought i would be difficult!!!

something a buddy of mine who builds porsche 924 racecars does, is get the engine bay connector harness thingy from a BMW E30/E36. they look awesome, and it looks like the car was designed with the boot battery mod.

i think i'll do this ASAP!
ReeceZ wrote:I'm sorry... I couldn't help it. Please no one wish any hateful shit on me, I own an SX already

User avatar
Trance101
0.9 Bar Boost
Posts: 964
Joined: Tue Aug 14, 2007 1:54 pm
Car: S13
Engine: RB
Real Name: Ryan
Location: Durban

Post by Trance101 »

veecee wrote:nice article. i've been wanting to do this for ages, but i've always put it off because i thought i would be difficult!!!
Well, I wasn't really looking forward to doing it coz I thought it may be difficult as well. Once you get stuck in tho it isn't really bad at all. Took me a good 3hrs tho.
RB25 S13 - in a perpetual state of broken-ness...

Post Reply