I knew that bends and pipes etc where expensive, but whow, at least twice what I expected. Next time you can buy a fmic WITH piping, sell you mother in law and buy everything complete.
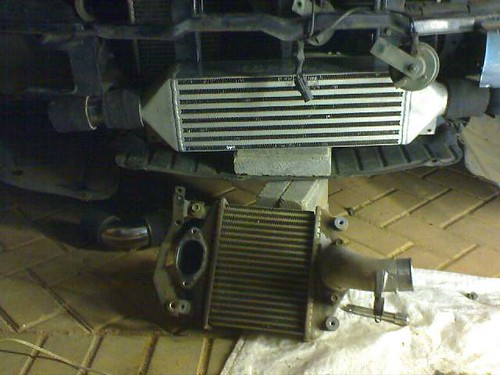
I am not going to show strip down pictures, quite a few install guides are on the net. Just the bits I manufactured and did differently. The size and shape of the IC will also determine the routing of the pipes.
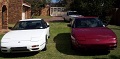
Old > New
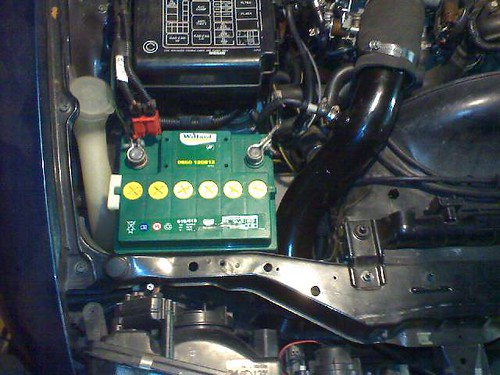
So I decided not to drill a big hole through the middle of the battery box. Don't feel like relocating the battery to the boot either. Then there is the problem of the wiper washer bottle.
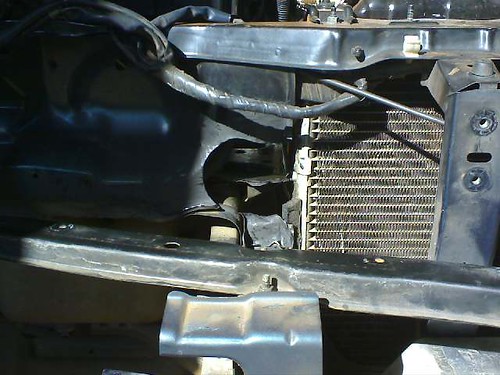
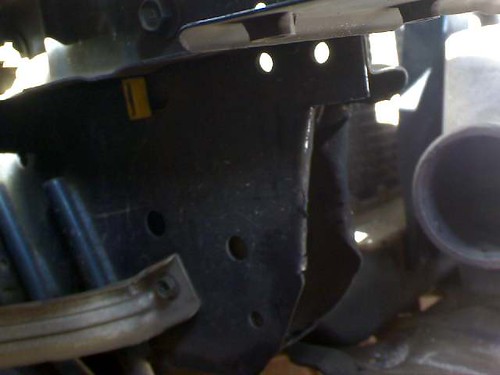
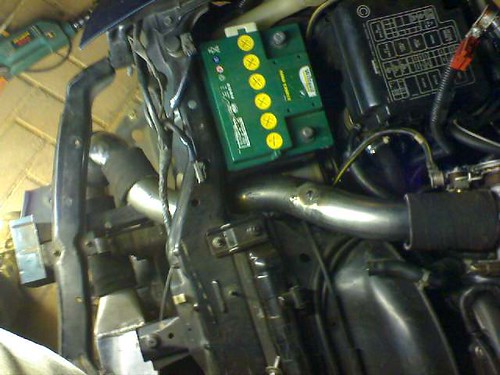
So I cut a big hole between the slightly smaller battery and the radiator. Had to cut the aircon rad bracket, but I don't think that it will go anywhere. Also rustproof and painted everywhere I cut, including the battery box.
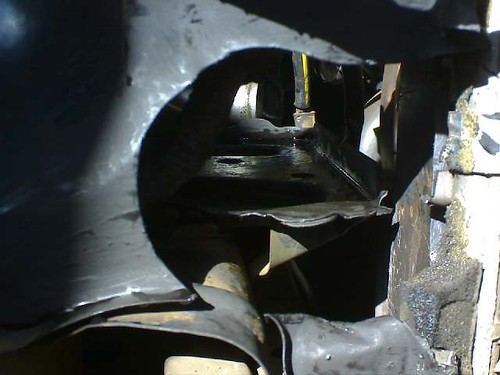
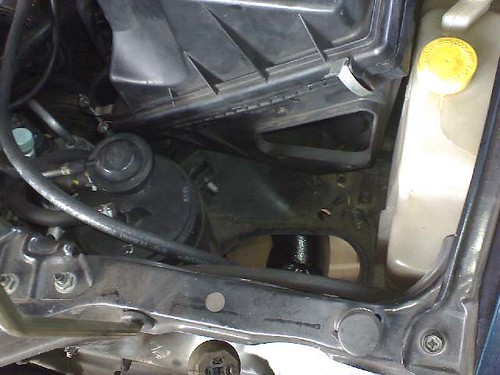
Close up of the hole. Note the battery box in the background.
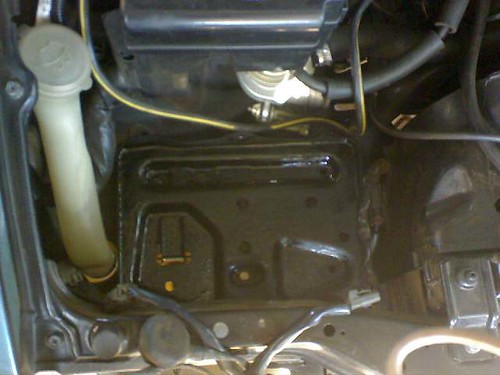
Painted battery box.
View from the rear.
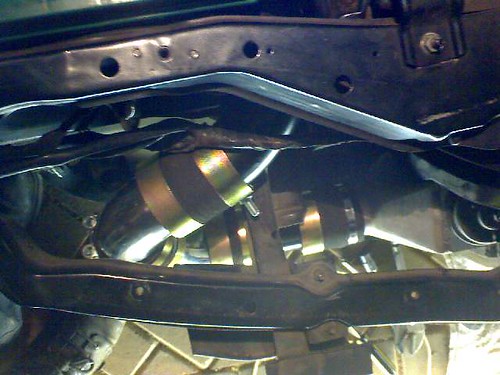
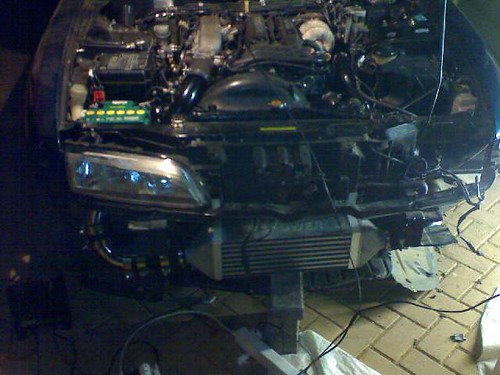
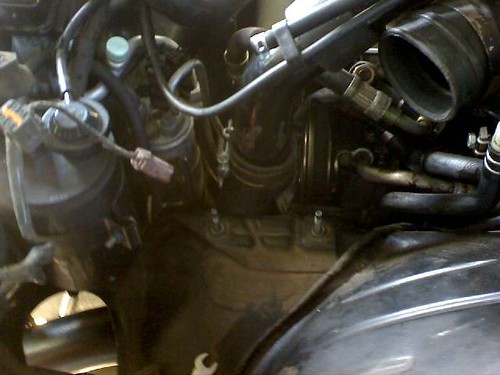
Bent back the chassis rails about 20 mm to make way for the pipes.
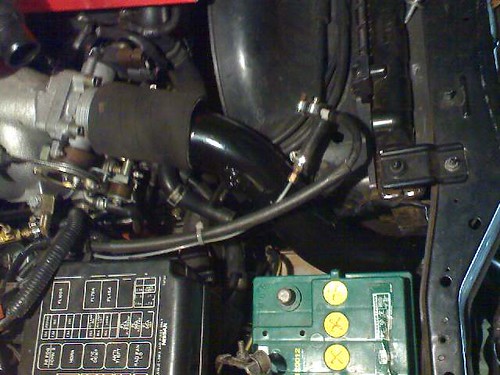
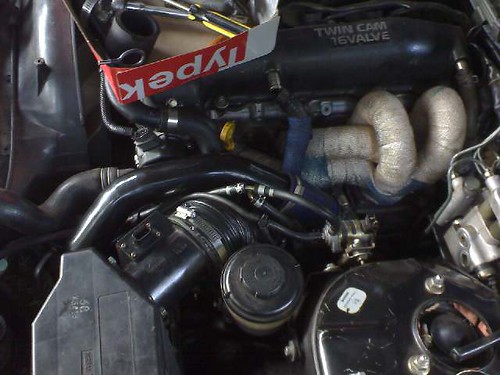
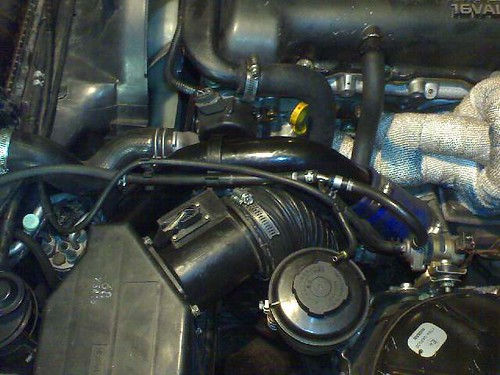
Keep the original plumbing from the turbo to old IC position.
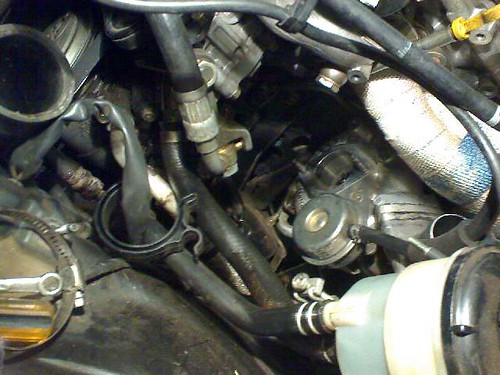
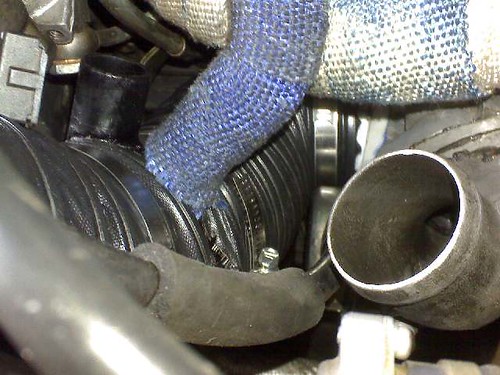
Trying to use some of the old piping, will decide tomorrow...

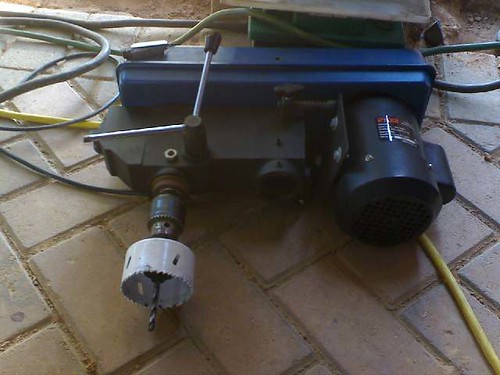
The tool I used to cut the hole...
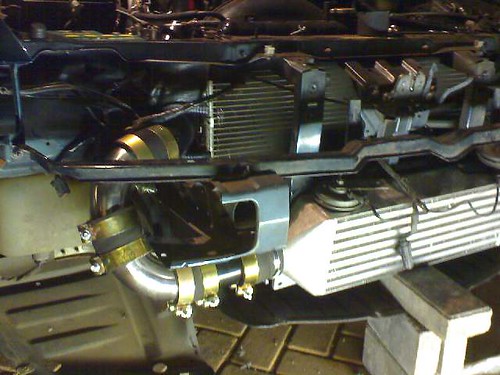
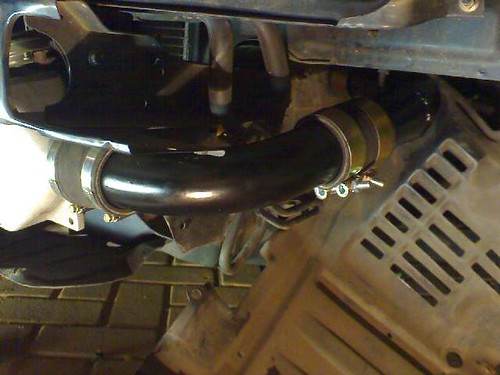
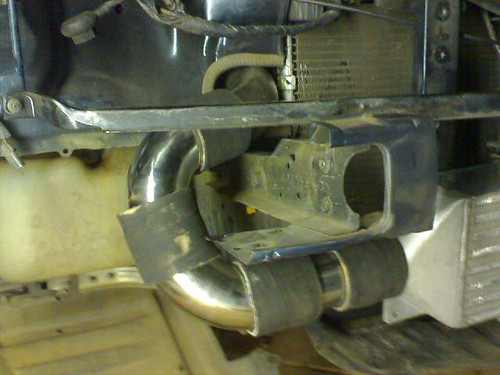
The 1st test fit of the new 64mm bent
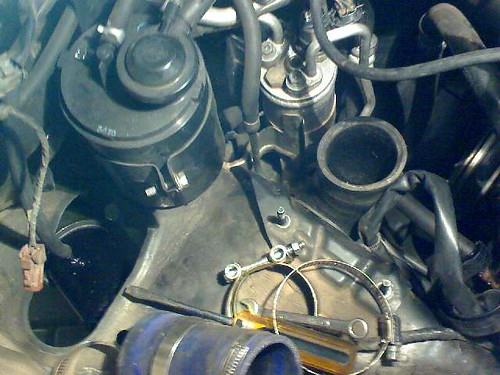
1st test fit of right hand side piping
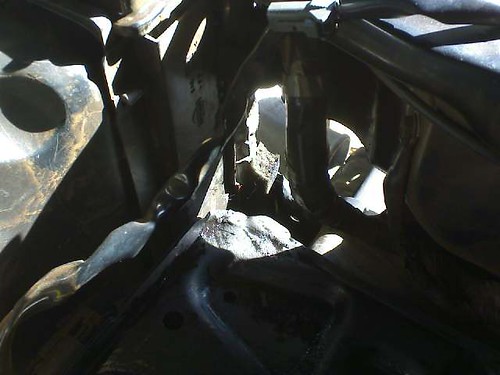
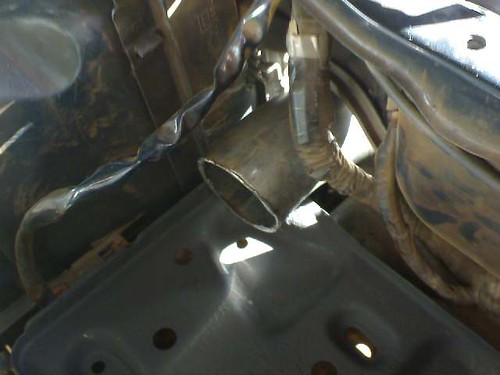
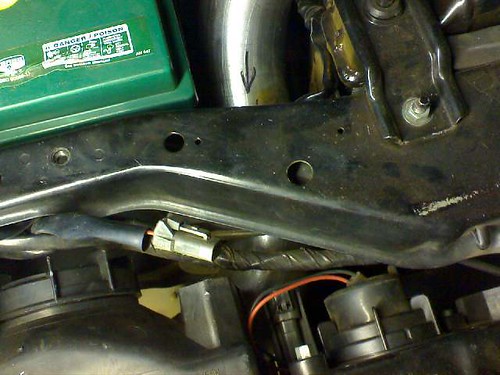
Close up of the hole
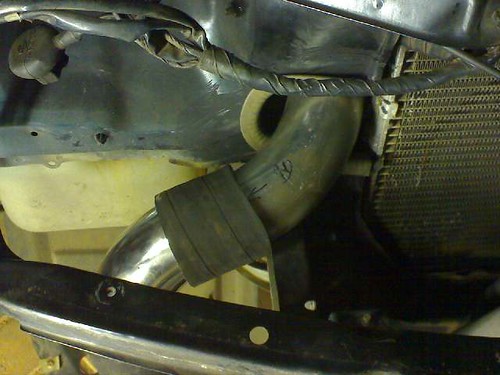
Test fit the 1 piece pipe welded together from 3 bends.
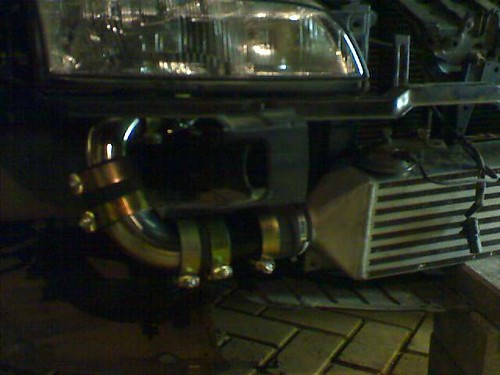
With the headlight back in place. Not touching anywhere
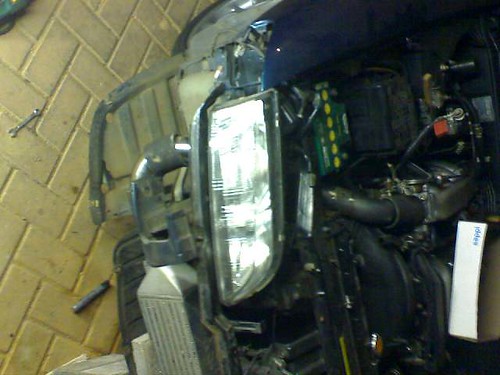
View of the space between headlight and cradle showing where the pipe fits through
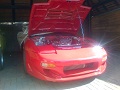
So when the project on the right is finished, I will start with the red 1 on the left
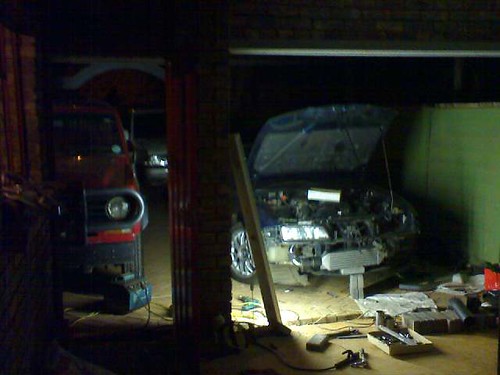
Some more pics later