Page 2 of 3
Posted: Tue Jul 22, 2008 9:41 am
by mario_200sx
ITB - Individual Throttle Bodies....

Posted: Tue Jul 22, 2008 9:44 am
by Draco
I knew that word.....just couldn't remember it at the time....you see when you as clever as me is.....me gets very confused with all the wisdommmmmmmmmm..........me brain waighs more then half me body....

Posted: Tue Jul 22, 2008 9:55 am
by mario_200sx
You a midget?

Posted: Tue Jul 22, 2008 10:01 am
by Draco
Don't be stupid stupid.....if I was a midget I had to has hands bigger than my head and body to type....
Sicko.....sies man....moenie so spot nie.....
Posted: Tue Jul 22, 2008 11:49 am
by Doctor G
mario_200sx wrote:ITB - Individual Throttle Bodies....
Yeah baby yeah. Std SR = 1 x 60mm TB at the butterfly. Custom ITB's = 4 x 48mm. Quite an improvement I'd say.
Gonna run them open for racing. Possibly add a plenum later. The guy who done them for me is working on a different design so this is kinda temporary..
Posted: Tue Jul 22, 2008 7:00 pm
by veecee
Riekert wrote:Doctor G wrote:
So first off I sandblasted VC
WHAT! You sandblasted VC??
VALVE COVER - riekert you wierdo!
nice work there G! again well done. you even managed to school draco, a huge accomplishment since his brain is so big!
Posted: Tue Jul 22, 2008 7:07 pm
by widowmaker
Riekert wrote:Doctor G wrote:
So first off I sandblasted VC
WHAT! You sandblasted VC??
van watter bank kom jy vandaan?
Posted: Tue Jul 22, 2008 8:35 pm
by Doctor G
Thanks man.
Some further updates.
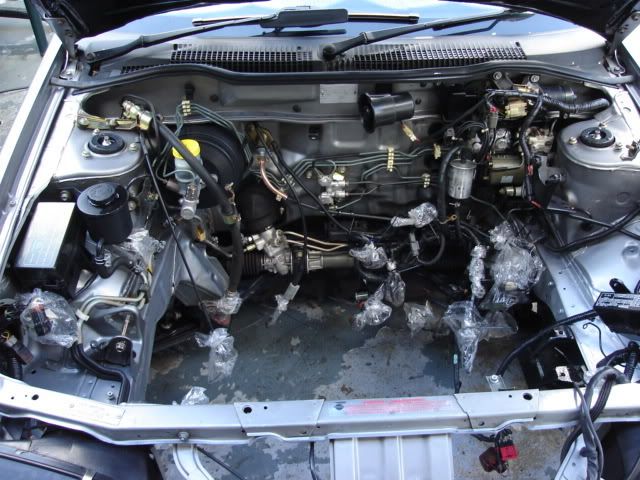
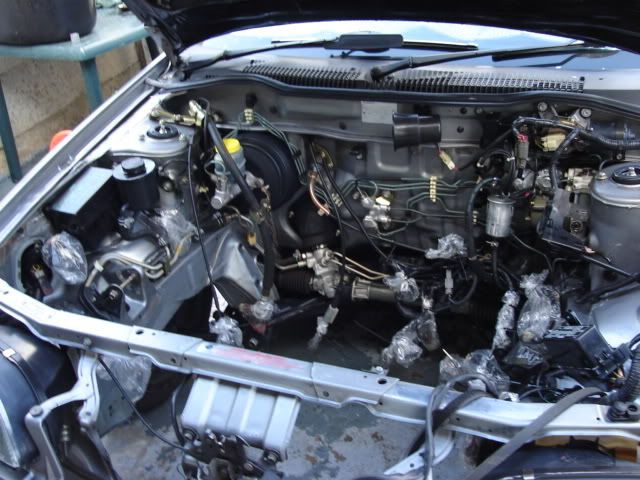
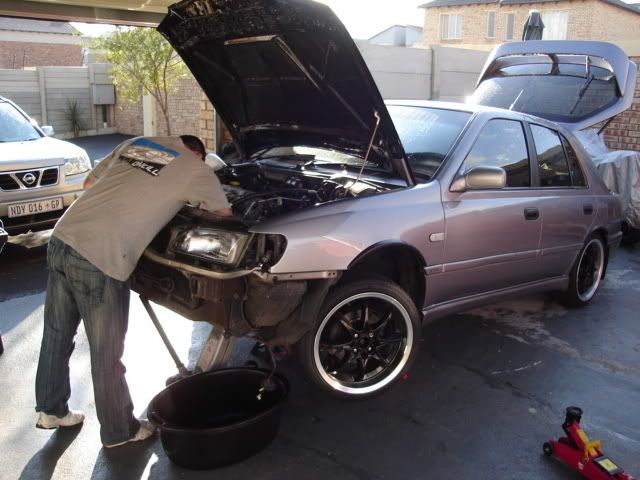
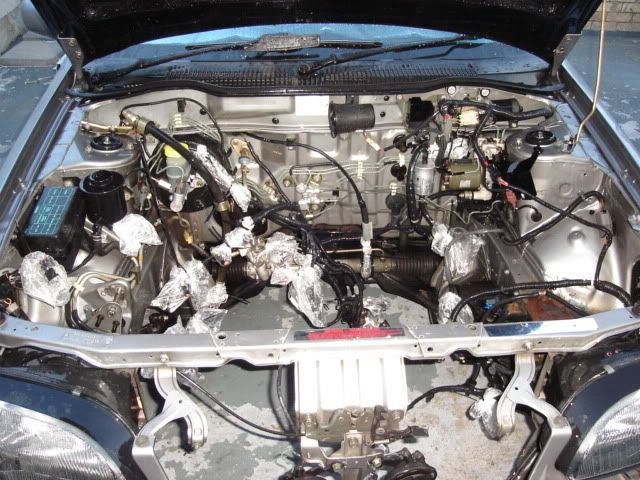
Last moments of the factory SR20DE
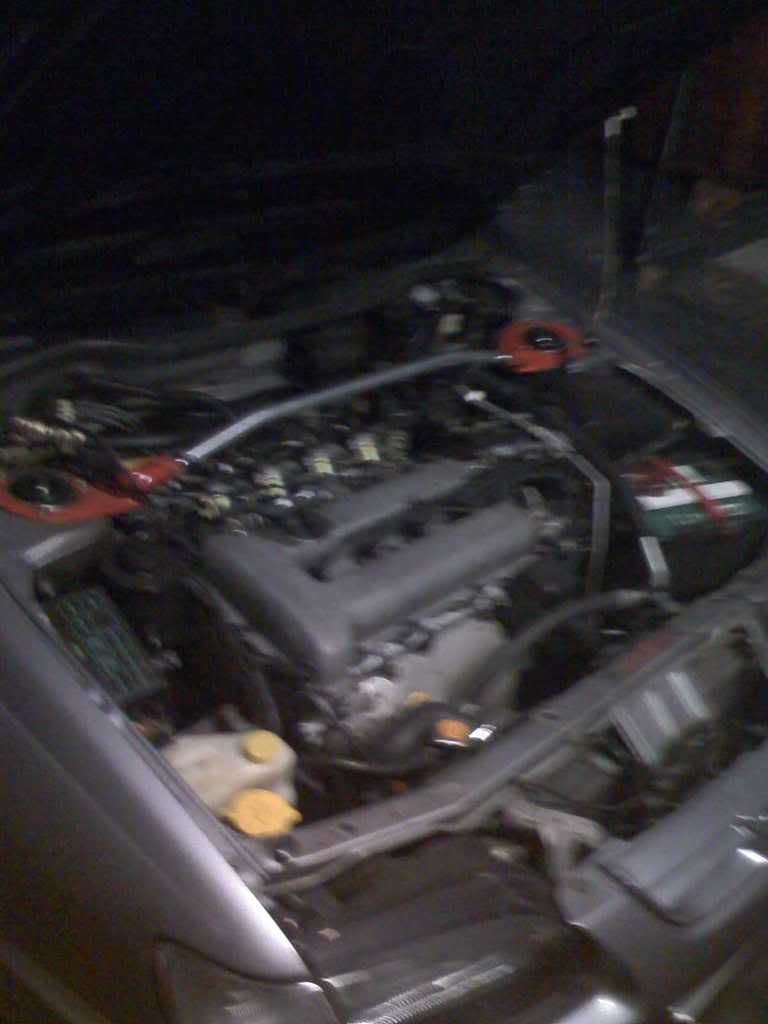
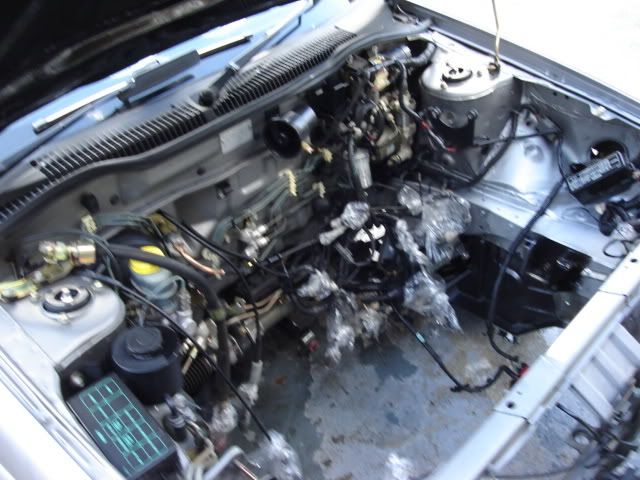
ZHR helping out pulling the motor
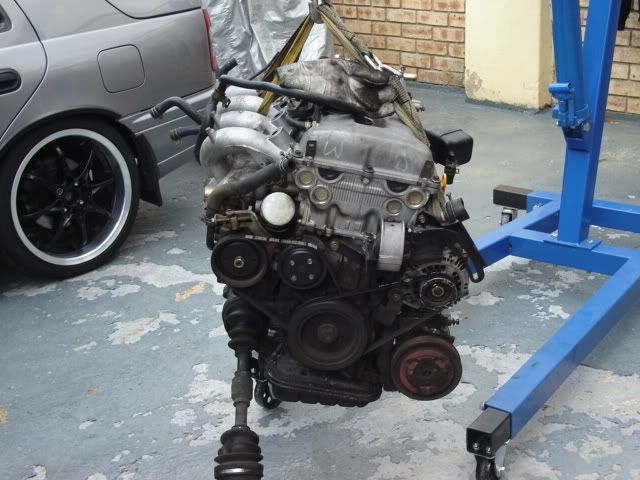
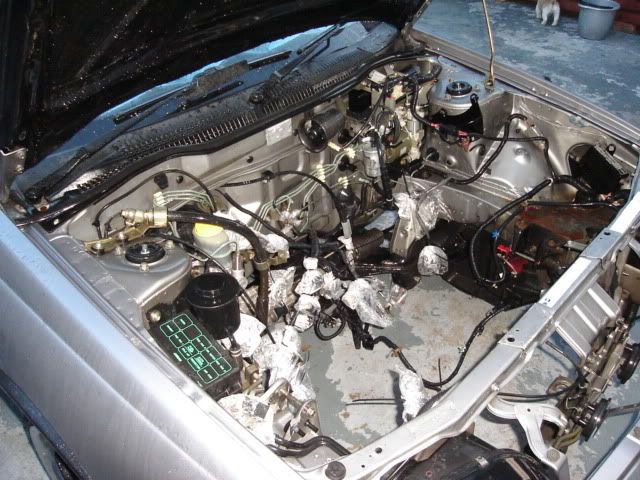
couple of minutes later

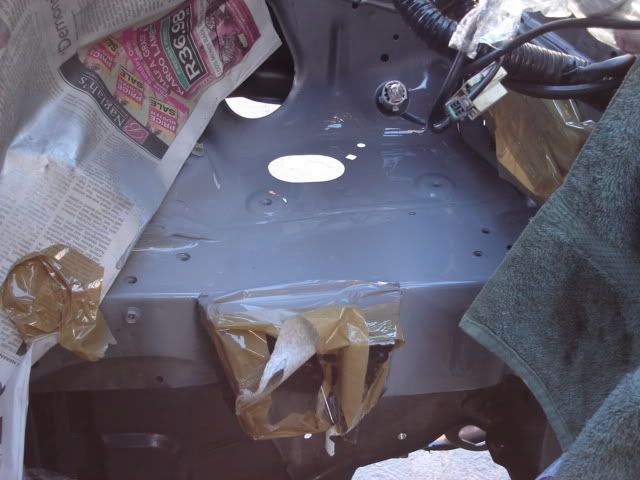
Engine bay in need of a deep clean!!
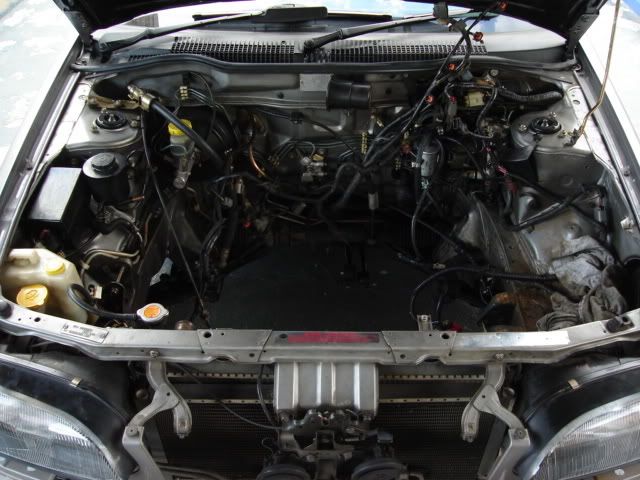
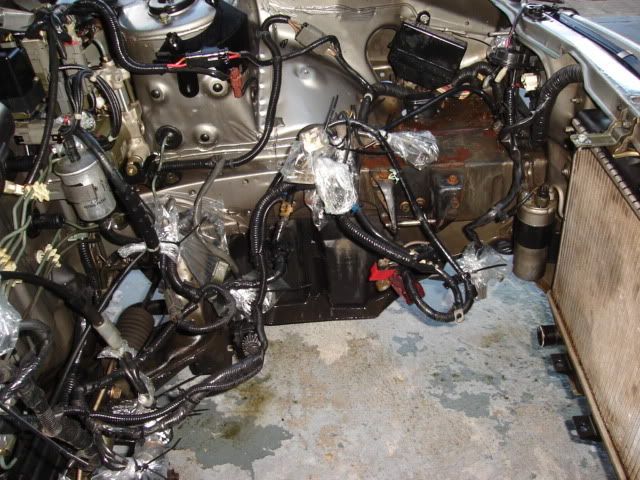
So the first phase of cleaning begins
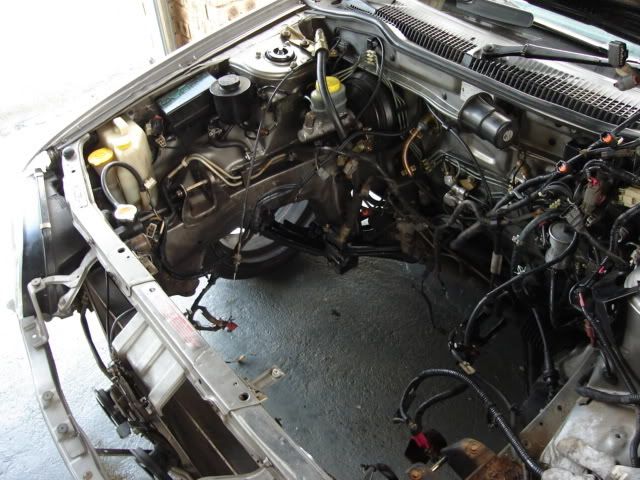
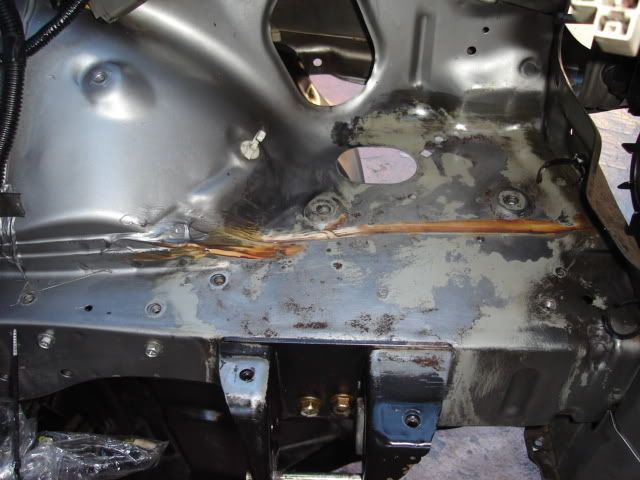
and then off course there is this little battery acid problem!!
So some sanding was in order
Then some primer
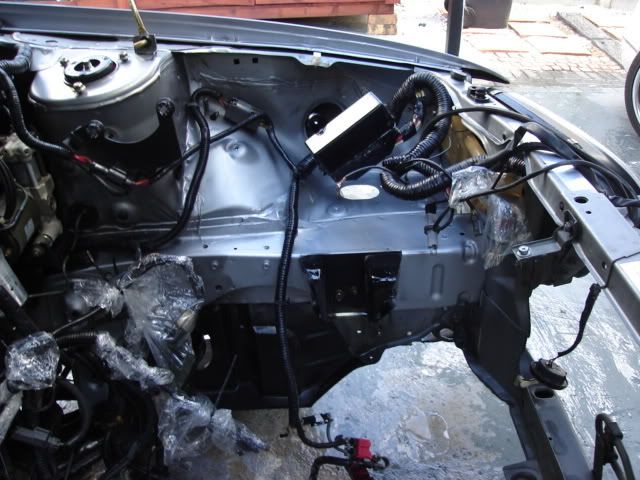
and some paint
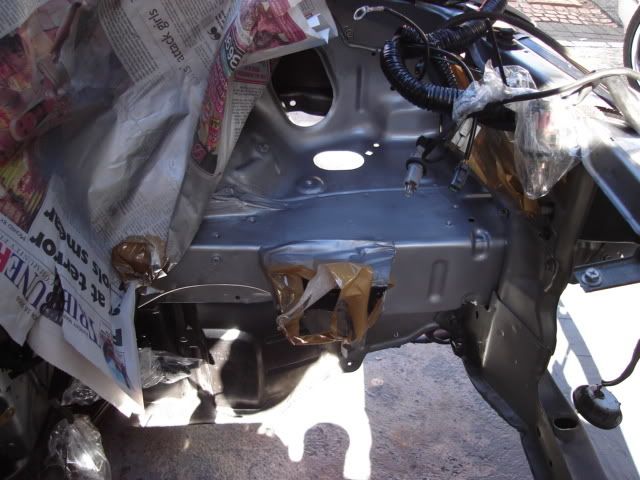
and she's as good as new...
Battery tray didn't get off scott free either. Also needed some sanding
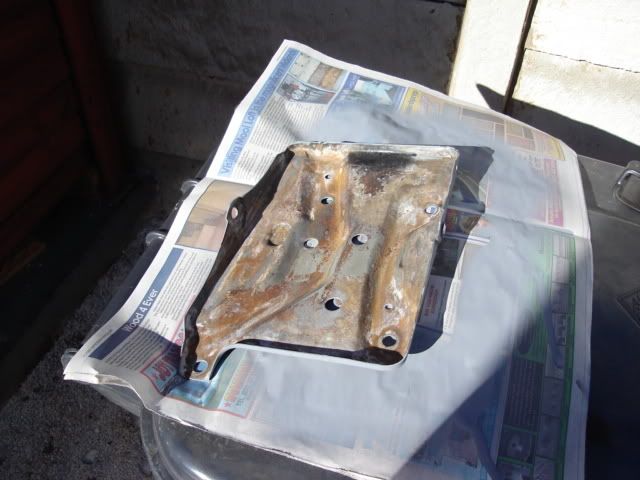
primer
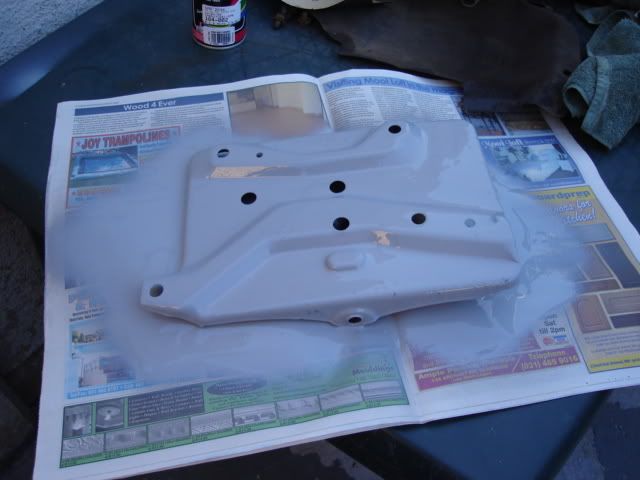
and I decided on some bronze paint
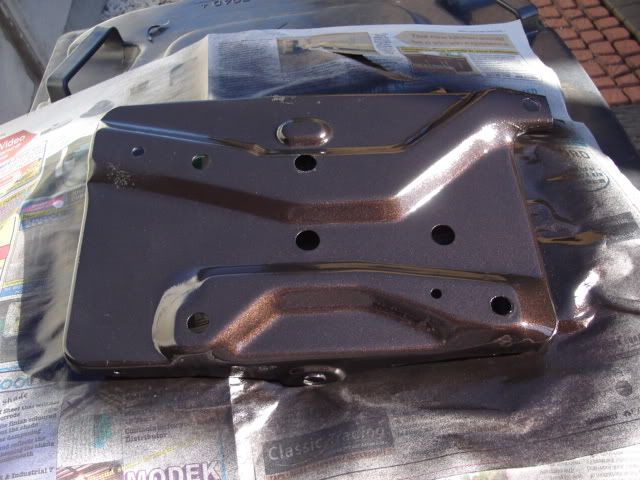
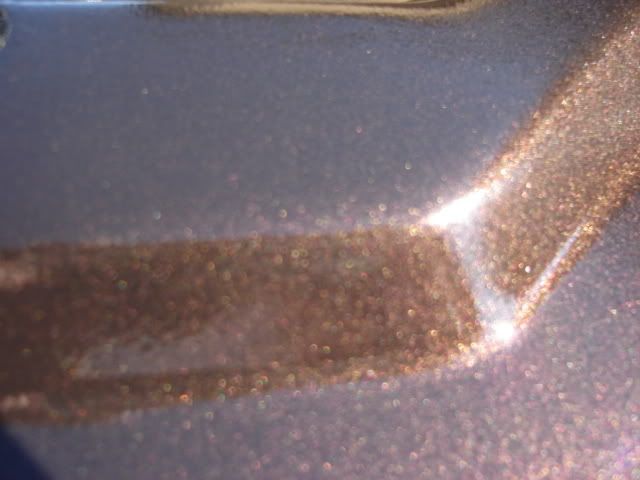
A close up of the bronze paint. I really like it. Would look good on a centre consol too me thinks.
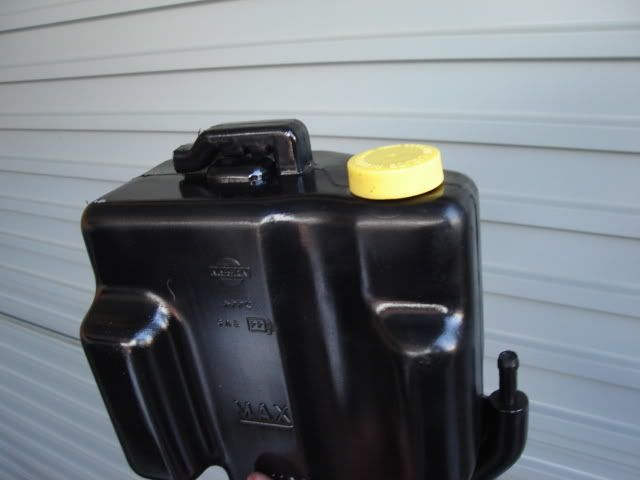
And while I was in a painting mood the water resevoir also got in the way

Posted: Tue Jul 22, 2008 8:39 pm
by widowmaker
looks nice! where did you buy that see-through black paint if i might ask?
Posted: Tue Jul 22, 2008 8:39 pm
by Riekert
veecee wrote:Riekert wrote:Doctor G wrote:
So first off I sandblasted VC
WHAT! You sandblasted VC??
VALVE COVER - riekert you wierdo!
nice work there G! again well done. you even managed to school draco, a huge accomplishment since his brain is so big!
hehe... I knew THAT!

widowmaker wrote:Riekert wrote:Doctor G wrote:
So first off I sandblasted VC
looks awesome man!
WHAT! You sandblasted VC??
van watter bank kom jy vandaan?
defnatief nie van first national nie... dalk ABSA....
Posted: Tue Jul 22, 2008 8:44 pm
by Doctor G
Posted: Tue Jul 22, 2008 8:46 pm
by Doctor G
widowmaker wrote:looks nice! where did you buy that see-through black paint if i might ask?
Thanks WM. (Especially for changing that avatar - Lol
)
It's not really translucent. Had to add an external water level indicator to the resevoir later. Pics are somewhere.
But the paint came from a hobby shop. It's that Tamiya stuff. I'm sure the plastic interior paints would work just as well if not better.
Posted: Tue Jul 22, 2008 8:49 pm
by widowmaker
or just black water?
Posted: Tue Feb 03, 2009 9:39 am
by neptune
Where the updates yo I was following this thread with interest.
Dr please do some justice.
Re: Project Fly VVL
Posted: Wed Oct 10, 2012 9:56 am
by shaggy
updates?